It's still early days, but it looks like things will be different in the Class 3. So far I've made 200m from one Relic site, 100m from a Data site and the combat anomalies are paying 45-50m each. They're significantly tougher to do, of course, and it took me a while to best configure the Rattlesnake to best deal with the incoming DPS, but in the end I was able to maintain >1.2K DPS and a passive recharge approaching 700 HP per second.
C3 Rattler
Shield Power Relay II
Shield Power Relay II
Drone Damage Amplifier II
Drone Damage Amplifier II
Drone Damage Amplifier II
Large Shield Extender II
Large Shield Extender II
Shield Recharger II
Shield Recharger II
Pithum C-Type EM Ward Amplifier
Pithum C-Type Thermic Dissipation Amplifier
Pithum C-Type Kinetic Deflection Amplifier
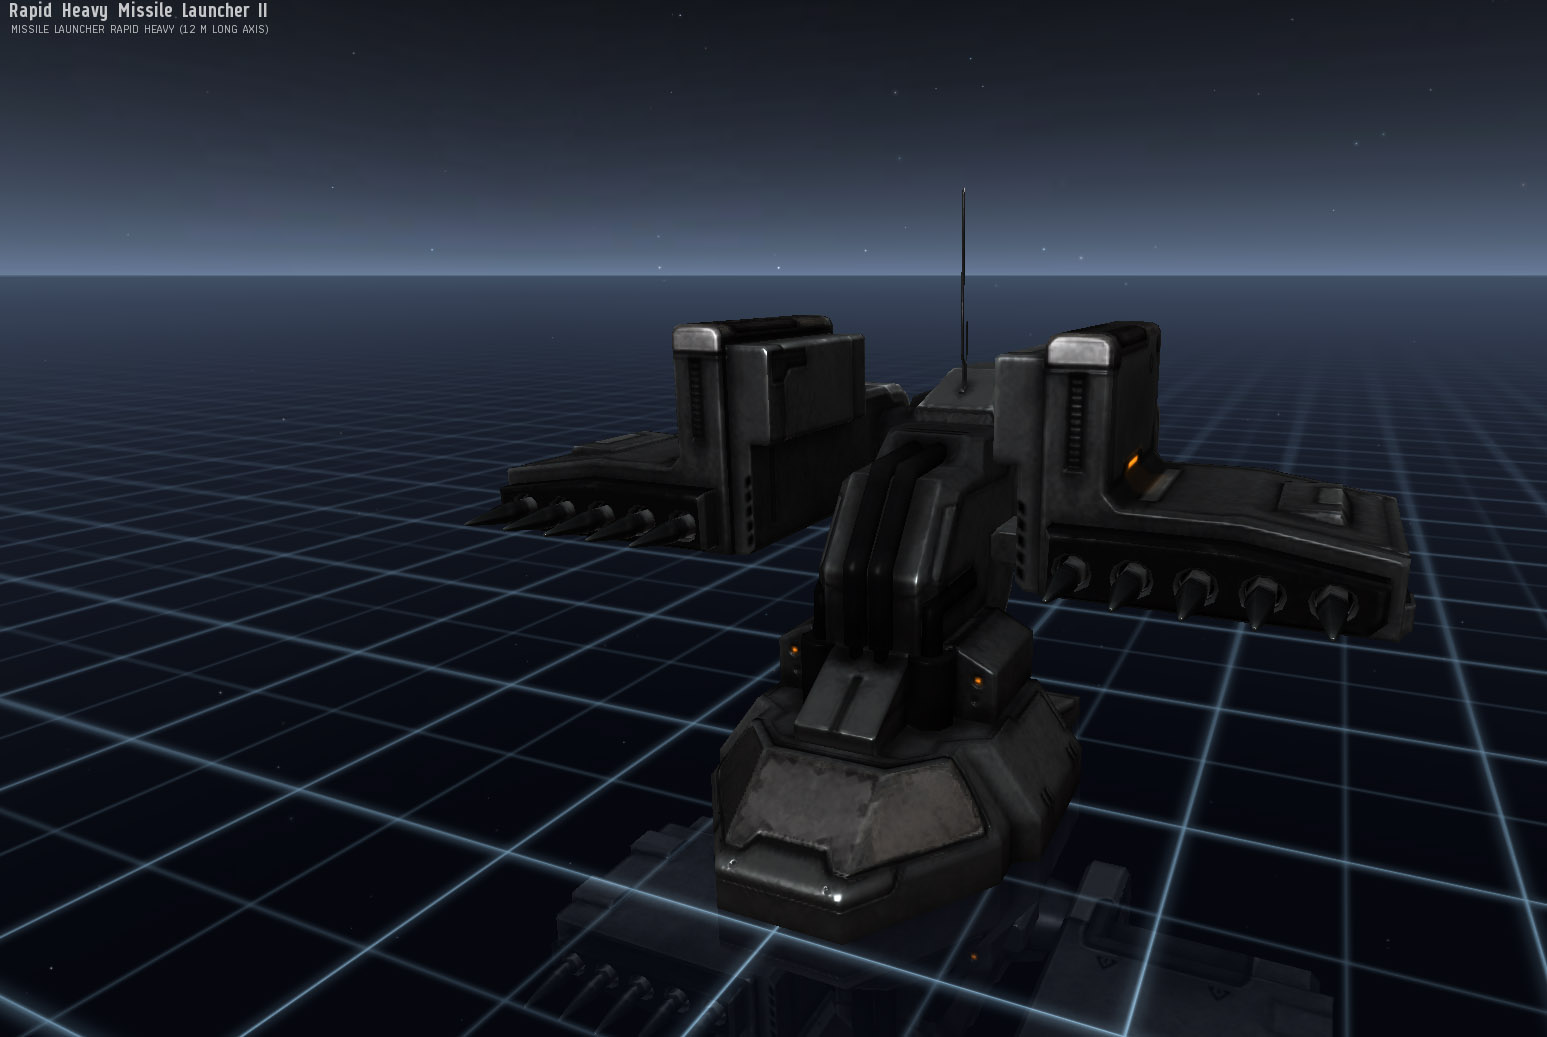
 Rapid Heavy Missile Launcher II
Rapid Heavy Missile Launcher II
Rapid Heavy Missile Launcher II
Rapid Heavy Missile Launcher II
Rapid Heavy Missile Launcher II
Drone Link Augmentor II
Core Defense Field Purger II
Core Defense Field Purger II
Core Defense Field Purger II
Garde II x2
Vespa EC-600 x5
Hobgoblin II x5
Bouncer II x2
The Rapid Heavy Missile launchers might seem like an odd choice for PvE because of their long reload, but with so many mid and low power slots, not to mention rigs, being consumed by tank, the application of Cruise Missiles or Torpedoes is woeful. Moreover, they add over 400 DPS to your damage output without the need for Ballistic Control Systems. If you know your spawns well enough, you can time a reload to coincide with when you're going to need to get a damaging Sleeper off the field quickly and with faction missiles and good skills, they still hit beyond 60 km's, which is usually well within the spawn range of the Sleepers in a C3 anomaly.
That setup allows me to clear anomalies in under ten minutes, effectively doubling my ISK efficiency compared with a Class 2 system. Moreover, the Rattlesnake is very cheap to buy or replace, despite being a massive gank target for roaming W-Space gangs. Which is exactly why hole control is so important.
Whilst field testing this fit yesterday I had an alt parked on my only way in or out of system, from HiSec. He was cloaked with probes out and every known signature was ignored so the moment a new one popped up, it would be populated on the scanning window. Such a level of paranoia undoubtedly saved my Rattlesnake yesterday as, when I was half way through a site of only four in system, a new signature suddenly appeared. I immediately pulled my sentries in and got safe with the Rattlesnake whilst I probed out the new signature. It turns out it was a wormhole from a C4 connector and, after watching it for a while, I saw the Lachesis that spawned it disappear back through it once he realised his quarry had made safe. Shortly after, all manner of rolling Battleships came through that same wormhole, collapsing it as they went on with their hunting.

But once again, healthy levels of paranoia won the day.